Create Membership Tiers
Overview
Membership tiers allow you to control who can access your community and what benefits they receive.
Tiers can be used to:
create free or paid membership levels
offer exclusive content or events
structure benefits for different member groups
monetize your community
Each tier can include specific features, pricing, and access rules.
Before You Start
Spaces can operate in two modes:
Free Mode
All members can join the space without payment.
Paid Mode
Members must subscribe to one of your membership tiers to access the space.
You can create tiers in Free Mode and activate Paid Mode later.
Step 1 — Go to Membership Tiers
Open your Space settings.
Navigate to Memberships → Membership tier.
Click Create membership tier.
The tier creation flow will open.
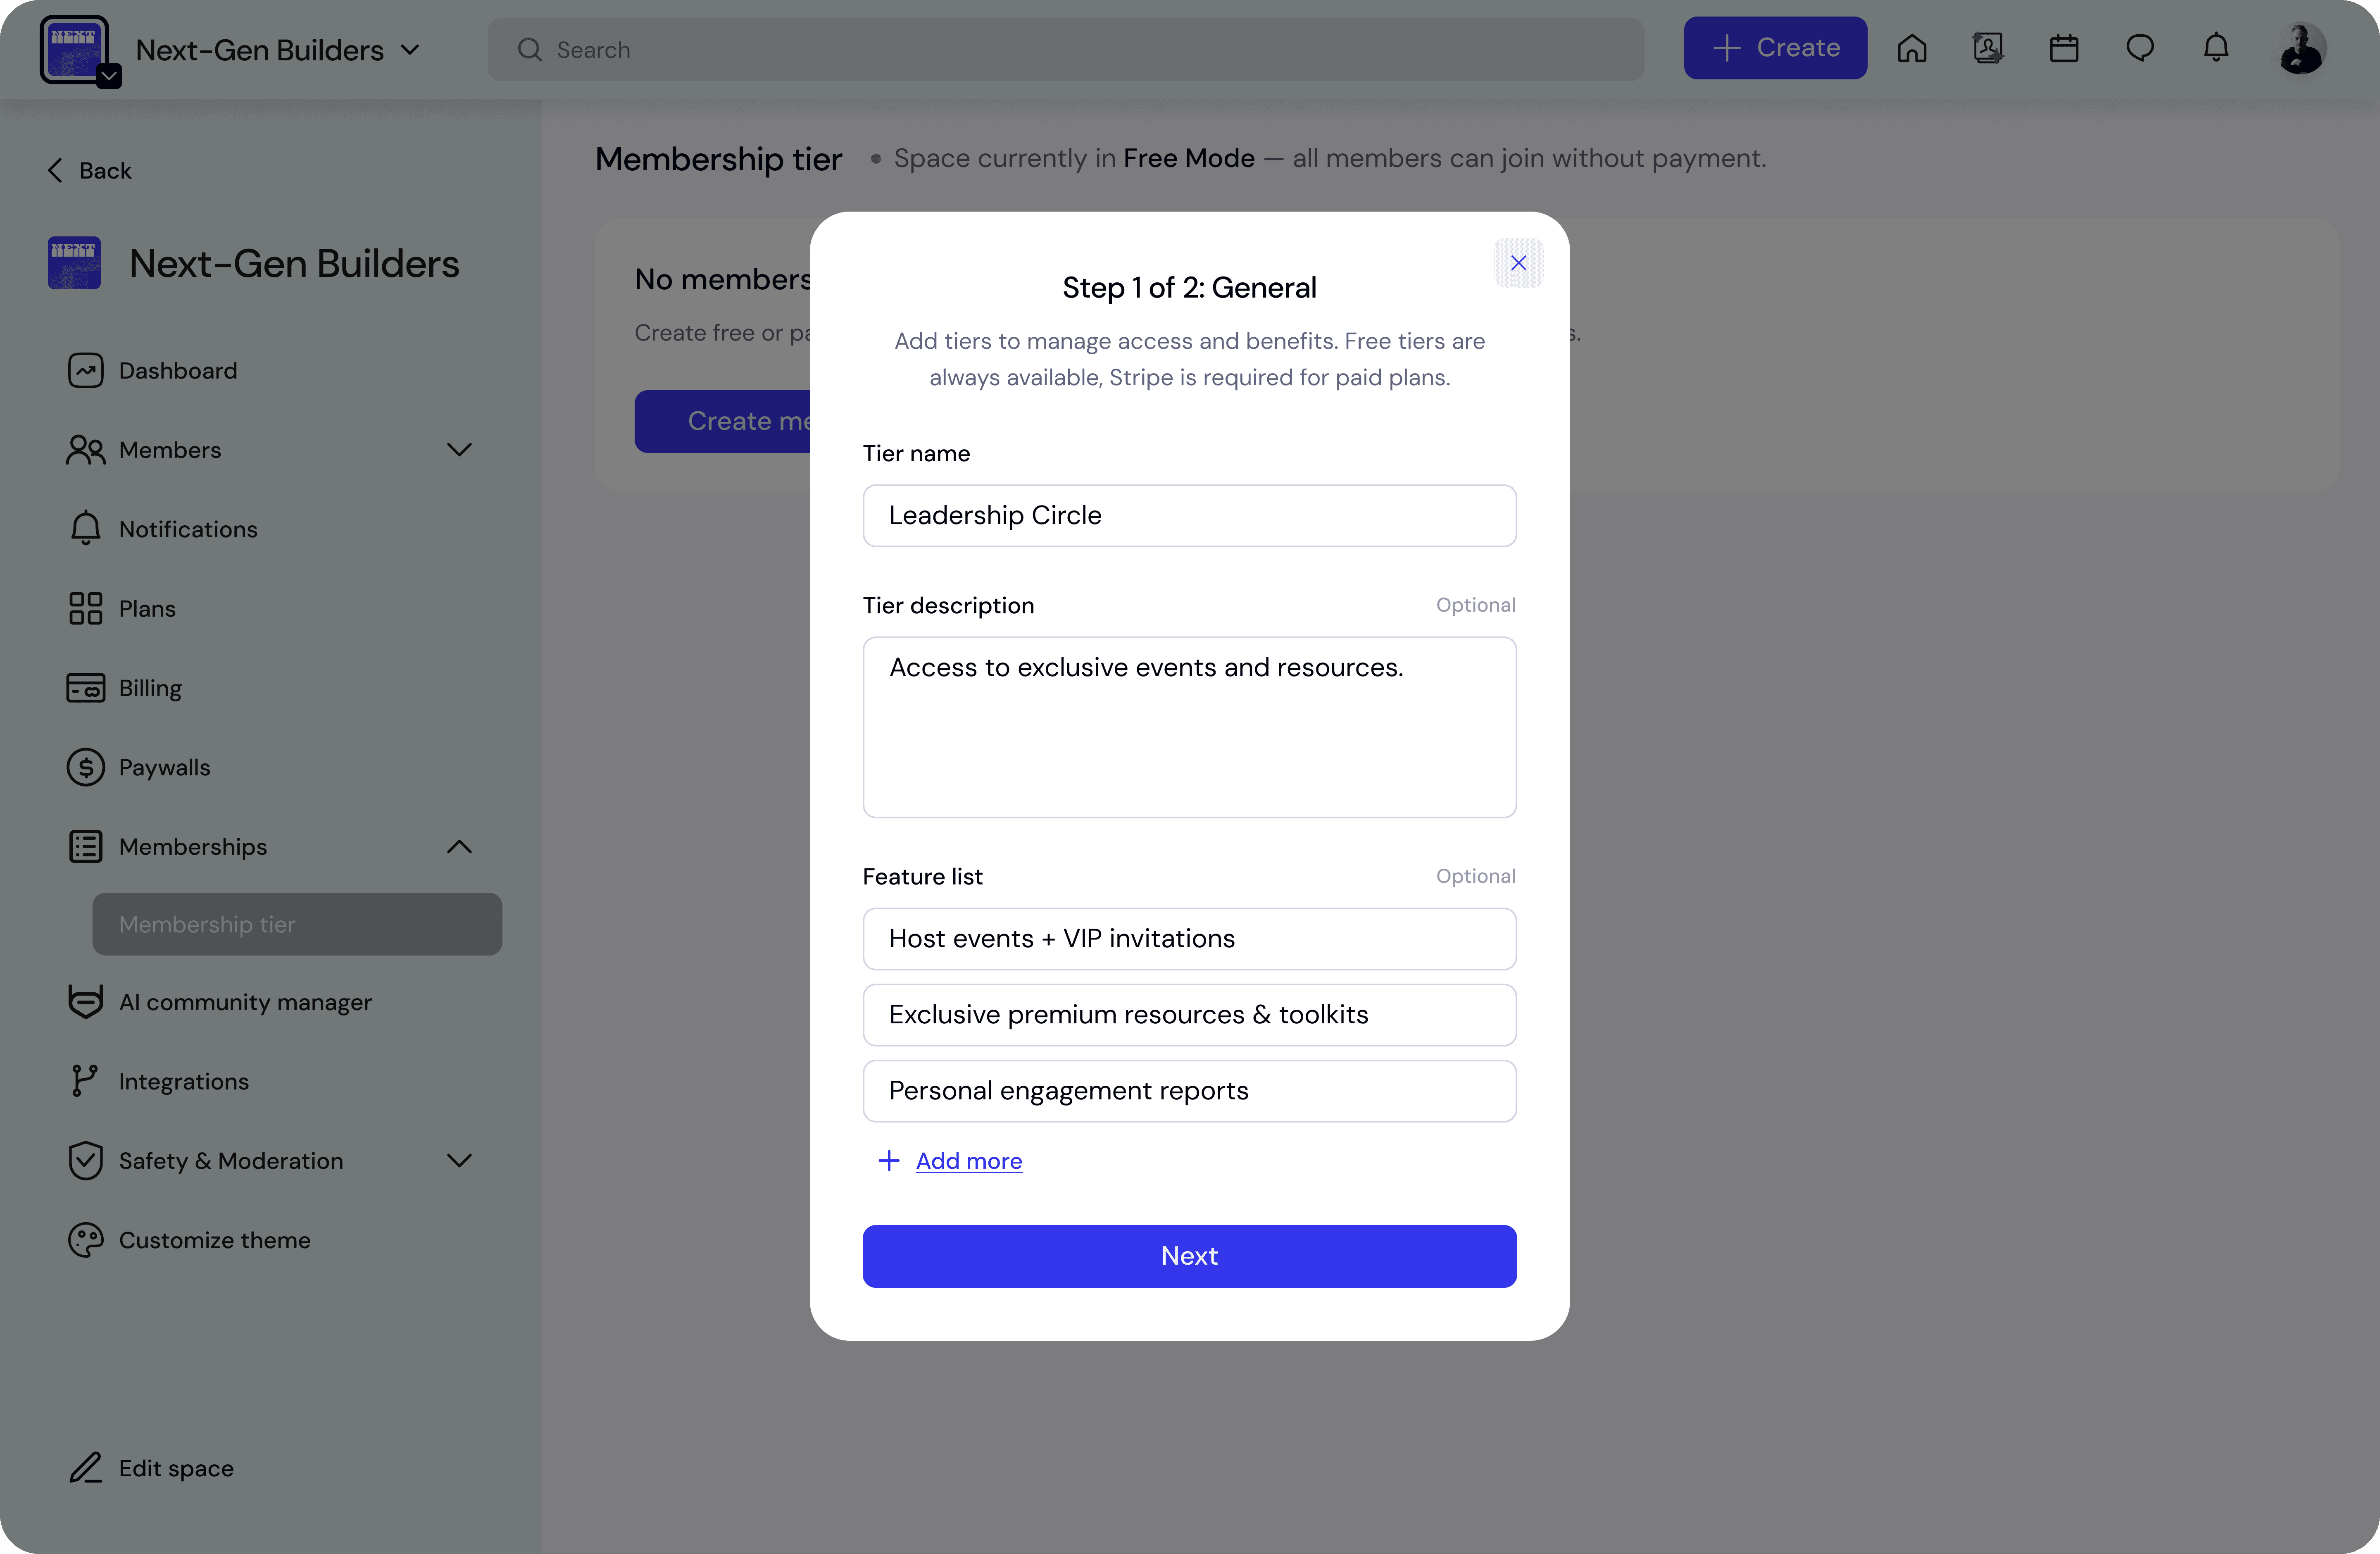
Step 2 — Add Tier Details
The first step defines the basic information for your tier.
Tier Name
Enter the name of the membership level.
Examples:
Community Member
Pro Member
Leadership Circle
VIP Network
Choose a name that clearly communicates the level of access.
Tier Description (Optional)
Add a short description explaining the value of this tier.
Example:
Access to exclusive events, premium resources, and private networking sessions.
Feature List (Optional)
You can list the benefits included in the tier.
Examples:
Host events + VIP invitations
Exclusive premium resources & toolkits
Community events
Personal engagement reports
Click Add more to include additional benefits.
These features will appear when members review the tier.
After completing the details, click Next.
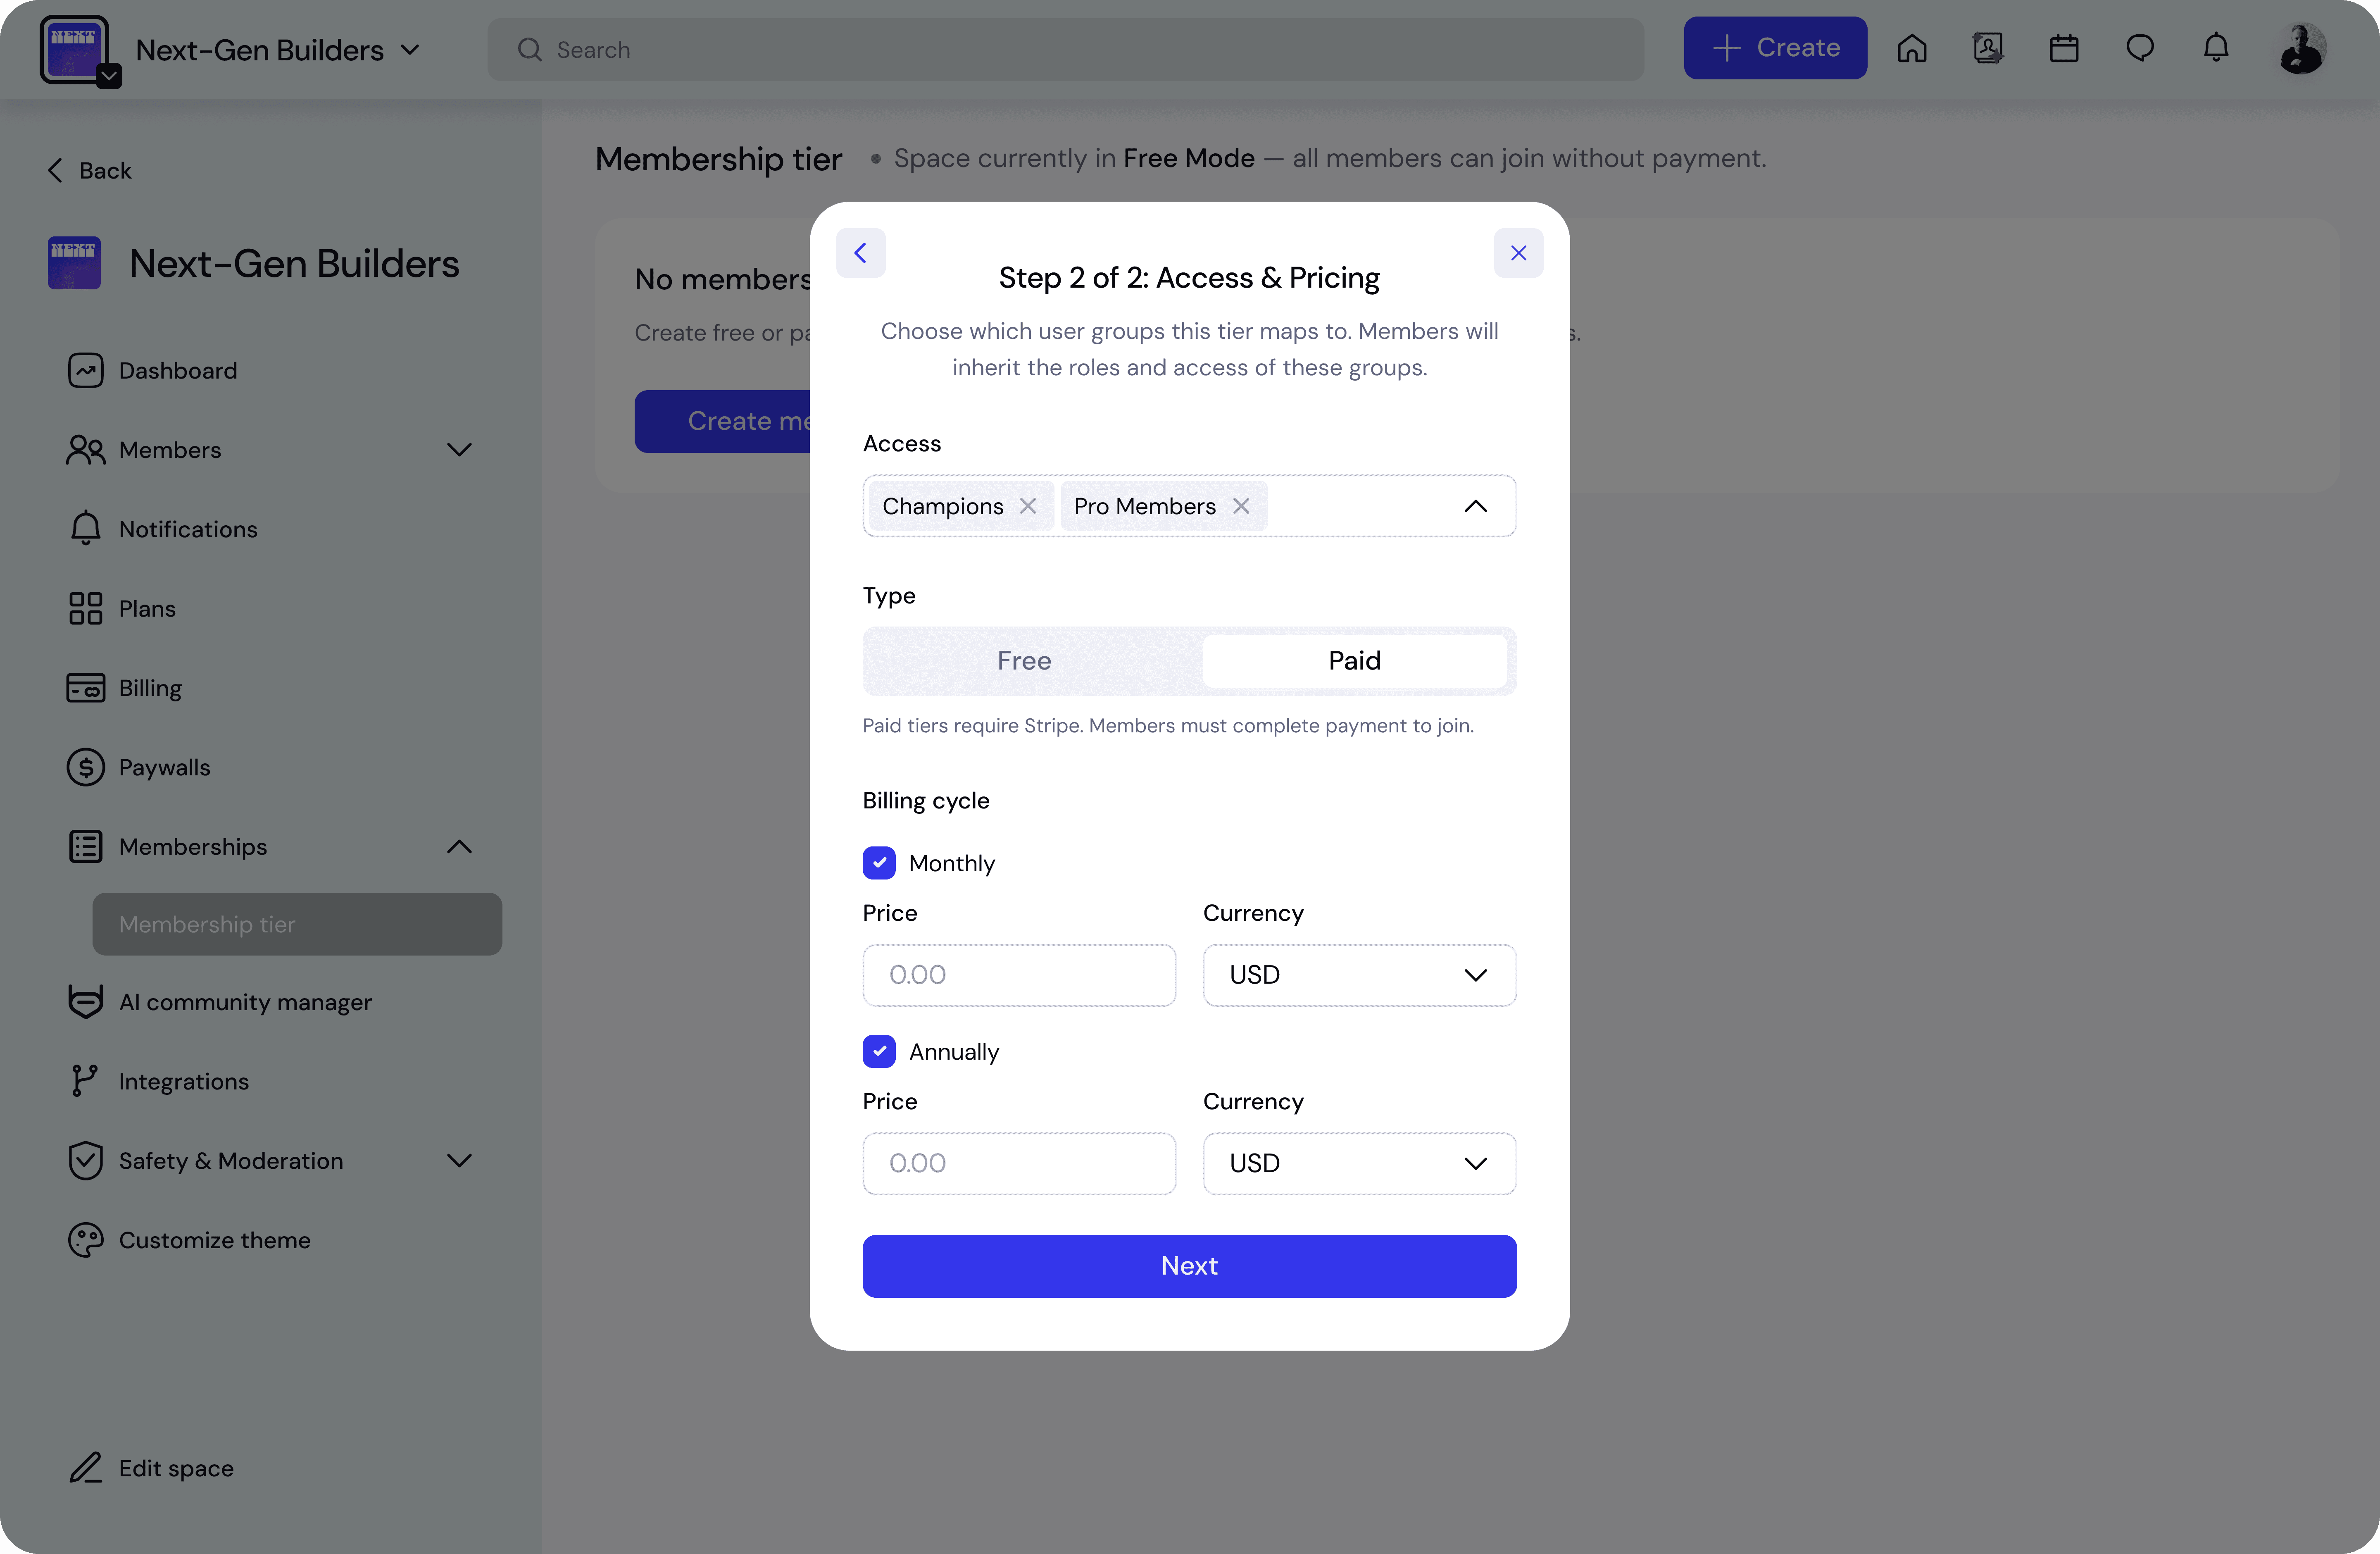
Step 3 — Configure Access & Pricing
Next, configure how members access this tier.
User Groups
Select the user groups associated with this tier.
Members who subscribe to the tier will inherit the permissions and access defined for those groups.
This allows you to control which sections, subspaces, or features members can access.
Tier Type
Choose whether the tier is Free or Paid.
Free
Members can join instantly without payment.
Free tiers are useful for:
open communities
trial memberships
entry-level access
Paid
Paid tiers require a subscription.
Stripe must be connected to enable payments.
Paid tiers are commonly used for:
premium communities
professional networks
exclusive memberships
Pricing Settings (Paid Tiers)
For paid tiers, you can configure:
Monthly Price
Enable monthly billing and set the price.
Example:
$9.99 per month
Annual Price (Optional)
You can offer discounted yearly pricing.
Example:
$99 per year
Step 4 — Review & Confirm
Before creating the tier, you will see a summary of the configuration.
This includes:
tier name
description
pricing
included benefits
associated user groups
Review the details to ensure everything is correct.
When ready, click Create tier.
Your membership tier will now appear in the Membership tier list.
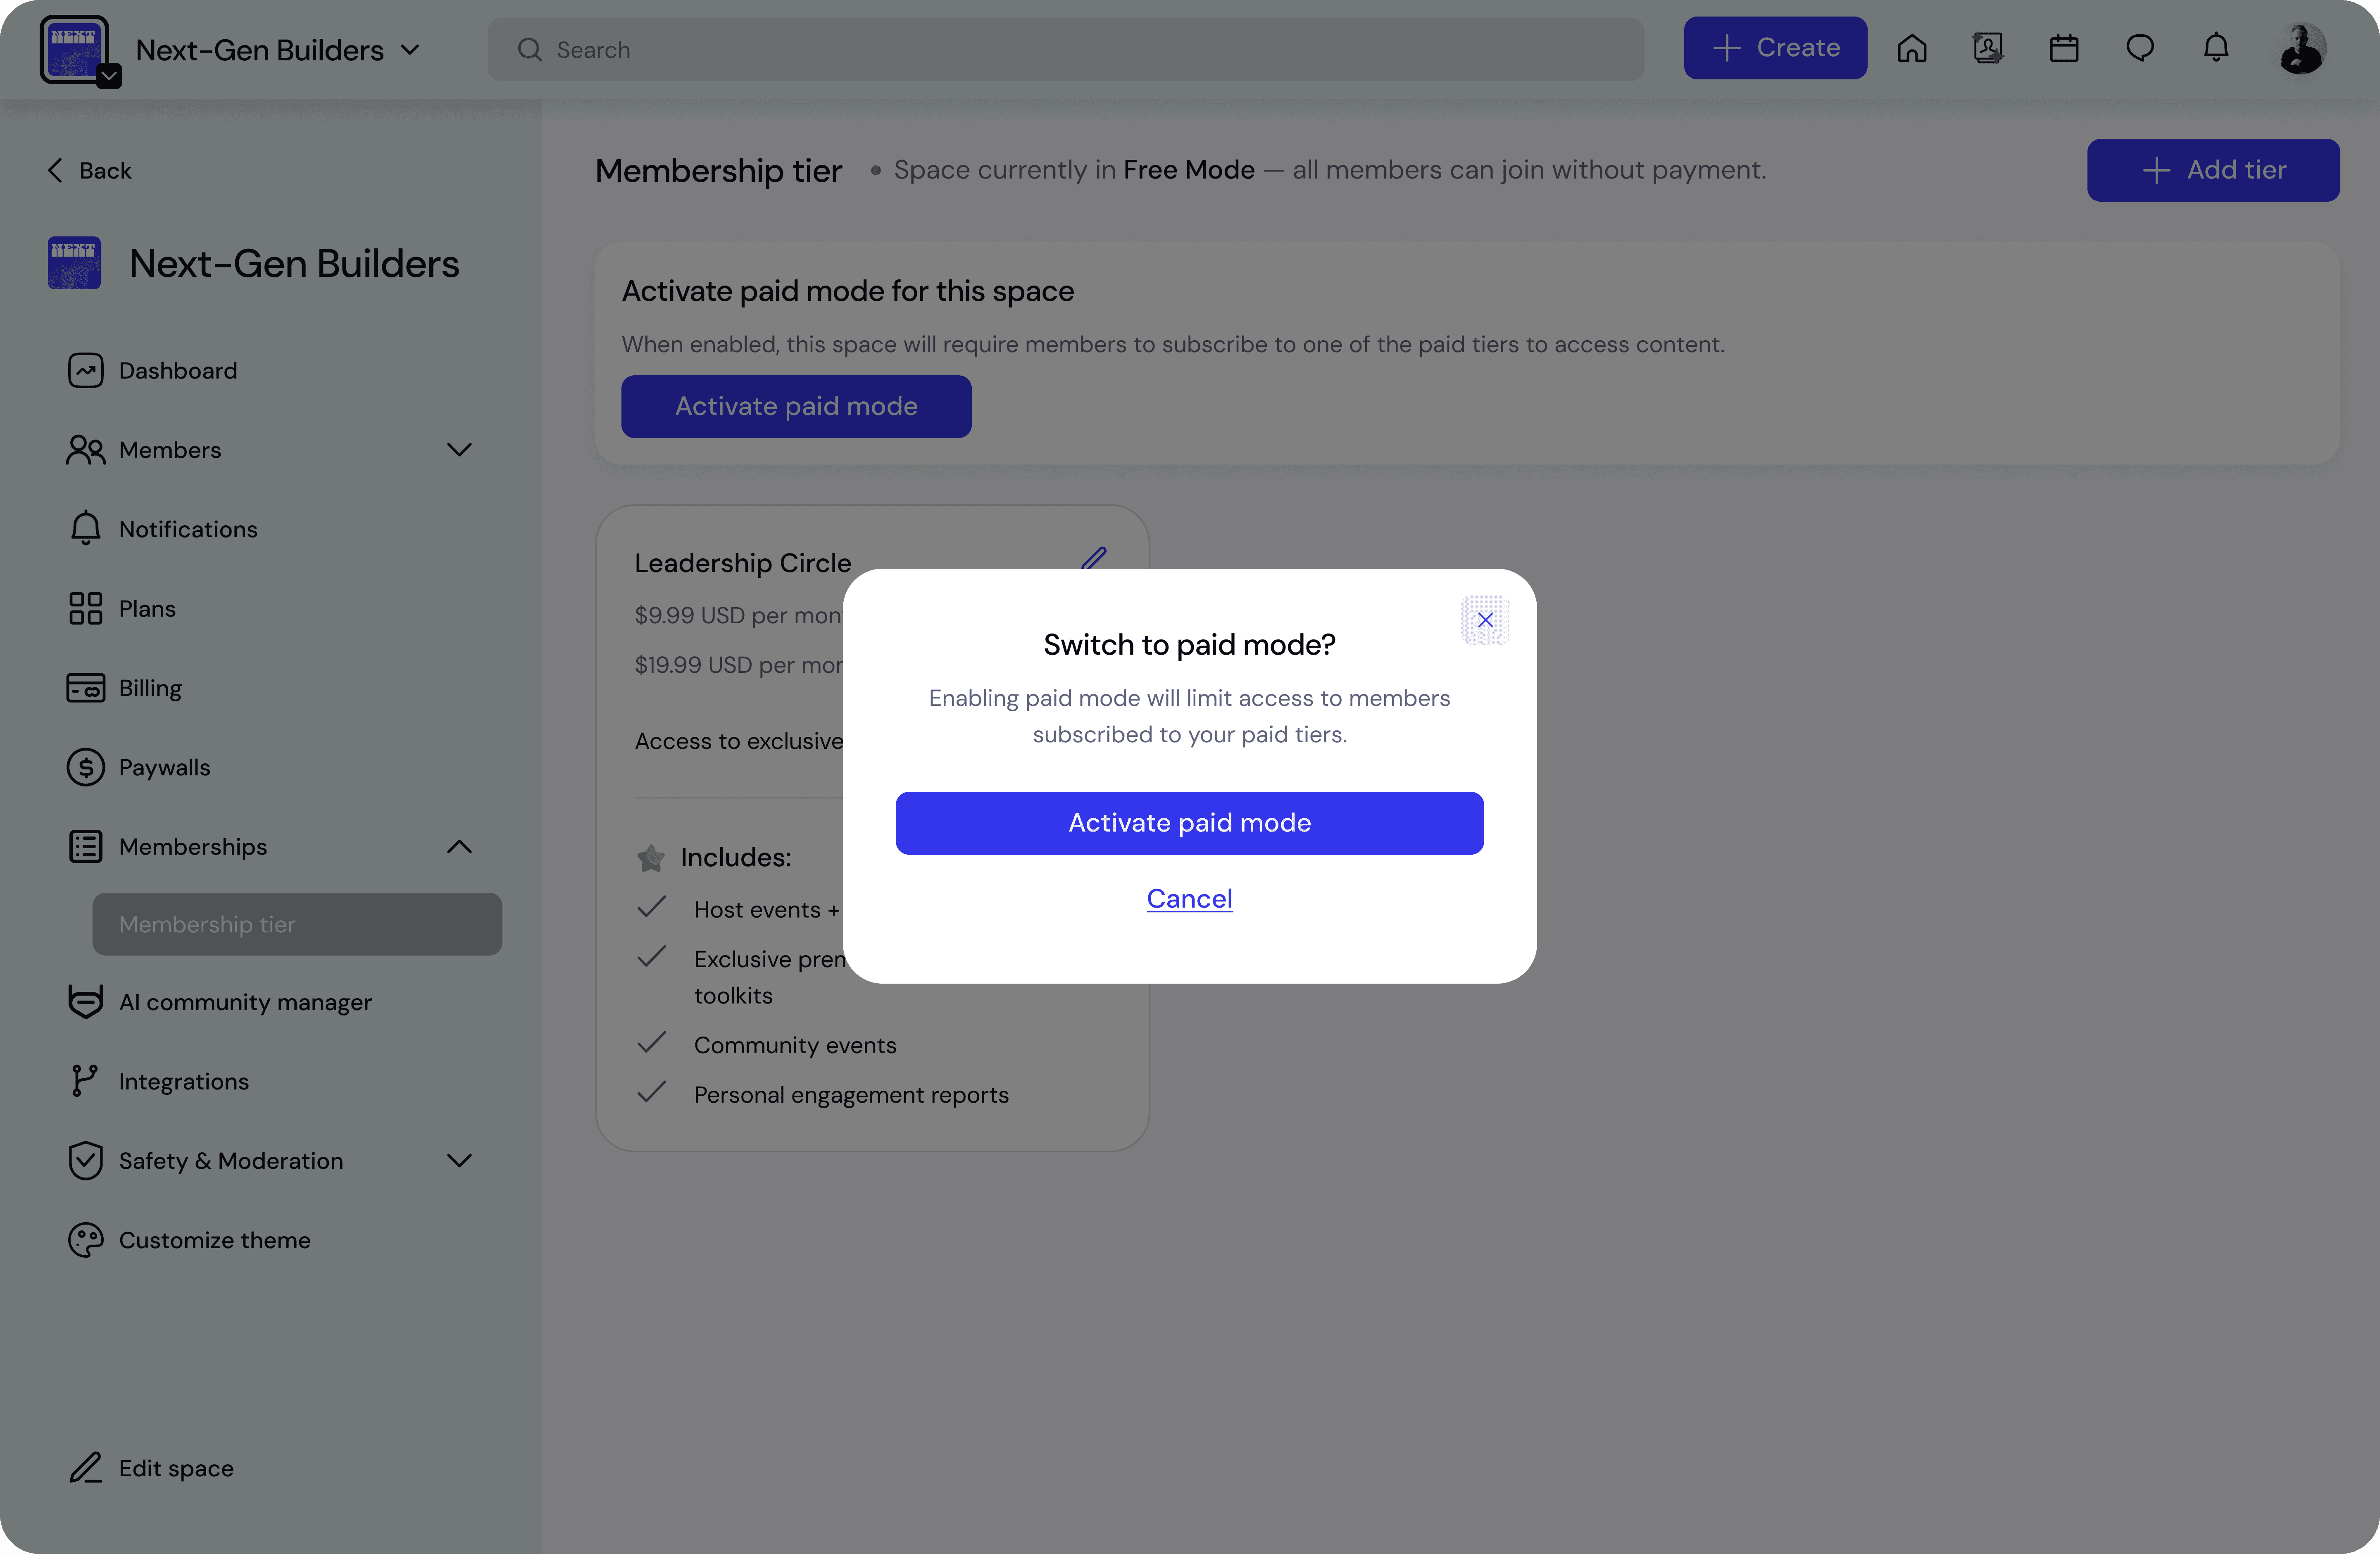
Activate Paid Mode
If you want the space to require a subscription, you can activate Paid Mode.
Go to Membership tier.
Click Activate paid mode.
Confirm the change.
Once enabled:
only members subscribed to a tier can access the space.
Switch Back to Free Mode
You can also return the space to Free Mode.
Click Activate free mode.
Confirm the change.
Existing subscriptions remain active, but access will no longer require payment.
Best Practices
Start with 1–3 membership tiers.
A common structure is:
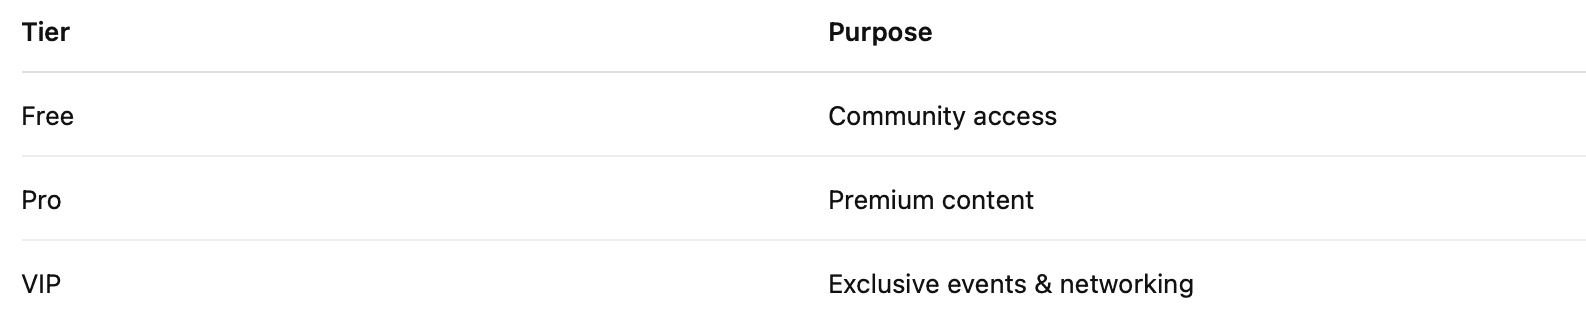
Keeping tiers simple helps members understand the value quickly.